Last Updated: November 12, 2026
Quick Summary
To learn how to prepare logo files for laser engraving, start with a vector file such as SVG, PDF, EPS, or AI, since vectors scale to any size without losing sharpness. Clean up stray and duplicate paths, convert text to outlines, and assign each part of the logo to its own layer in LightBurn.
- A logo under roughly 600 pixels on its longest side will trace poorly, so redraw it instead.
- Duplicate lines double the laser passes, leaving burnt edges on wood and over-etched acrylic.
- Keep the cut line on its own layer so the laser does not burn through the whole piece.
- Text below roughly 1/8 inch tall is unreliable on most materials.
- Run a test engraving on scrap of the same material at the same size before production.
Table of Contents
- Start with the Right Source: Best File Format for Laser Engraving
- How to Convert Logo to Vector for Engraving
- How to Prepare an Image for Laser Engraving: Cleaning and Organizing Paths
- LightBurn Logo File Setup: Layers, Cut Lines, and Engraving Patterns
- Material-Specific Adjustments and Logo Troubleshooting
- Send Your Logo File to Fireline Laserworks for a Test Engraving
- Frequently Asked Questions
Start with the Right Source: Best File Format for Laser Engraving
The best file format for laser engraving is a vector file, because vectors scale to any size without losing sharpness. SVG, PDF, EPS, and AI files all work well.
Most first submissions share one problem that shows why knowing how to prepare logo files for laser engraving matters: a logo pulled from a website as a small PNG.
Here is how the common formats stack up for learning how to prepare logo files for laser engraving:
| Format | Type | Engraving Quality | Best Use |
|---|---|---|---|
| SVG | Vector | Sharp at any size | Clean logos, simple shapes |
| Vector | Sharp at any size | Logos with text and detail | |
| EPS / AI | Vector | Sharp at any size | Editable master artwork |
| PNG | Raster | Good if large enough | Photos, textured art |
| JPEG | Raster | Poor, artifacts appear | Avoid for logos |
A vector file stores shapes as math, not pixels, so a laser can follow every curve exactly.
If you only have a raster image, the next step is conversion. That is where most logos live or die.
How to Convert Logo to Vector for Engraving
To convert a logo to vector for engraving, first decide whether conversion is the right move.
The decision sequence most practitioners use:
- Ask the brand owner or original designer for the master file (AI, EPS, SVG, or a vector PDF), always faster and cleaner than tracing.
- If no vector exists, check whether the raster is large enough to trace, a logo under roughly 600 pixels on its longest side will trace poorly no matter the software.
- Choose redraw for logos with text, thin strokes, or intricate marks; auto-trace only for simple, high-contrast, solid-shape logos.
- Clean the result before it reaches the laser (see the next section).
How to redraw a logo cleanly:
- Import the raster and lock it on a guide layer at 50% opacity.
- Draw fresh shapes over the top with the pen tool, using as few nodes as possible, a clean circle needs four, not forty.
- Set stroke to a hairline and check curves at high zoom.
- Convert live text to outlines only after confirming the font matches the original.
- Hide the guide layer and inspect the vector alone at final engraving size.
- Delete the guide layer and save the editable master separately from the export copy.
A redrawn or properly sourced vector is reusable across signs, awards, drinkware, and coated products for years. Next, clean and organize the paths so the laser reads them correctly.
How to Prepare an Image for Laser Engraving: Cleaning and Organizing Paths
To prepare an image for laser engraving, remove every stray path, close the shapes you want filled, and set clean cut lines. A laser reads lines literally.
Most guides show you how to trace a logo, then stop. The cleanup decides whether the engraving looks professional.
Run through this list before you export:
- Delete duplicate and overlapping lines
- Close every path you want filled
- Convert text to outlines or paths
- Set line weight to a hairline stroke
- Check that the artboard matches the final size
- Group the logo and center it on the artboard
- Save the editable master file separately
Watch out: duplicate lines on a path double the laser passes, leaving a dark, burnt edge on wood and a frosted, over-etched look on acrylic.
Once the paths are clean, the file is ready for layout, where layers and color mapping come in.
LightBurn Logo File Setup: Layers, Cut Lines, and Engraving Patterns
LightBurn logo file setup means assigning each part of the logo to a layer with its own mode: engrave, cut, or score. Color mapping lets one file hold the whole job.
A few settings do most of the work:
- Fill mode for solid areas like a logo mark
- Line mode for cut lines and outlines
- Offset fill to engrave a bold border without gaps
- Grayscale for photos and shaded art
Always keep the cut line on its own layer. On the engrave layer, the laser will try to burn through the whole piece instead of tracing the edge.
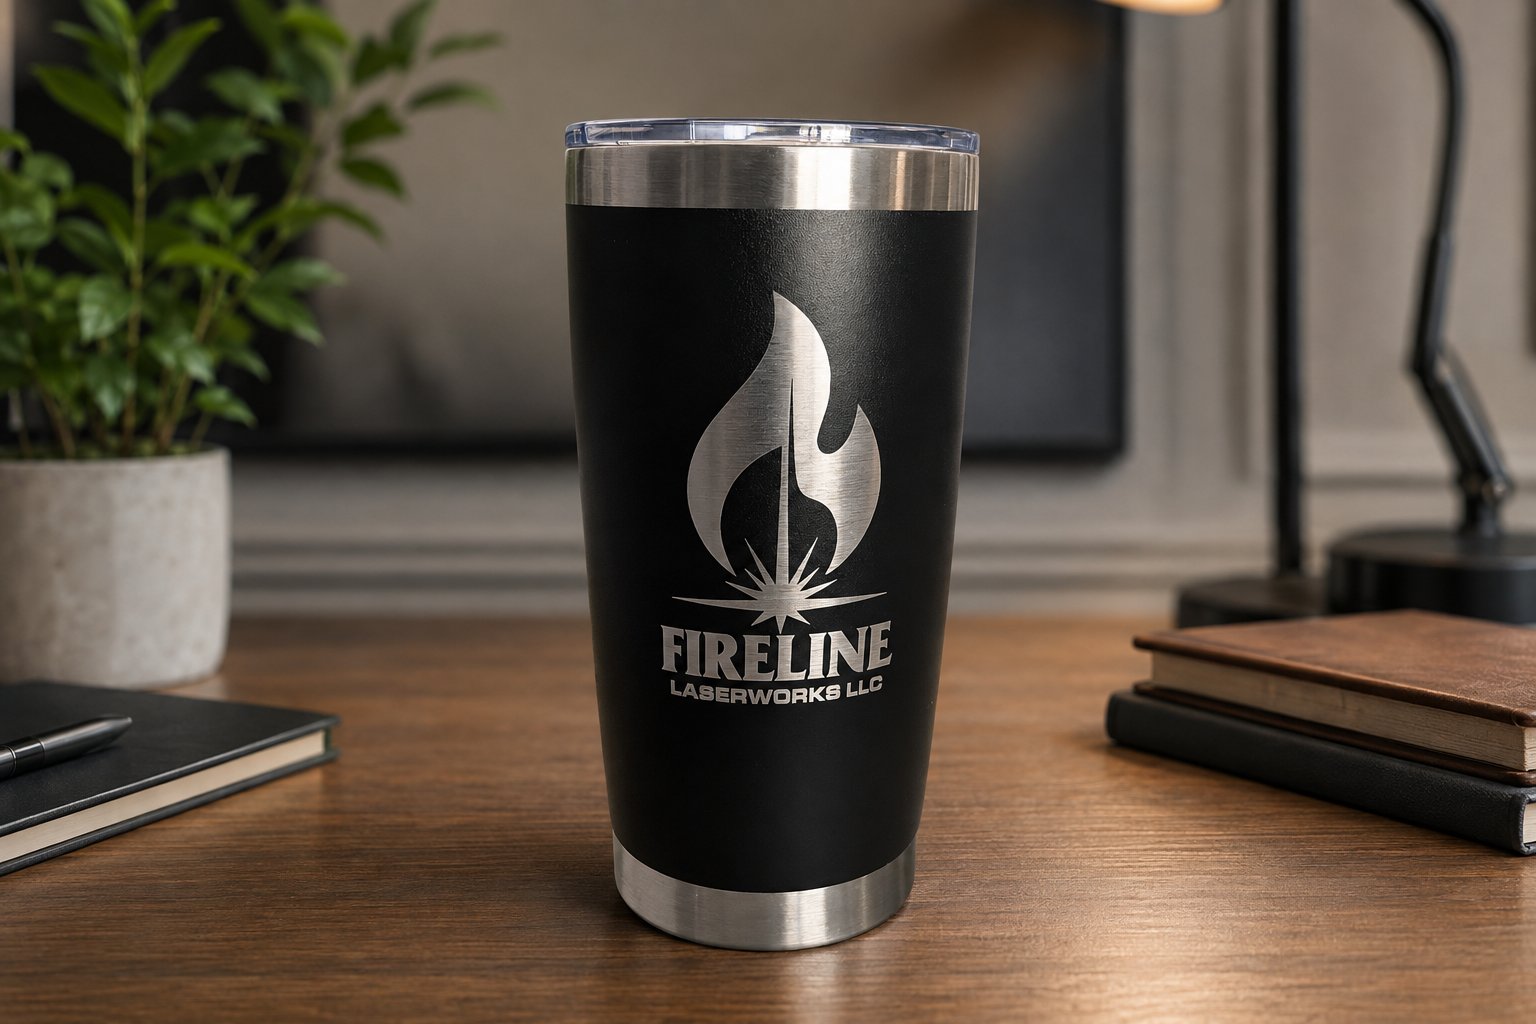
Want to see how finished engraving patterns look on real products? Browse our photographic samples of custom engraving and design work to judge how your logo might read on tumblers, coasters, and boards.
The same logo behaves differently on wood, metal, and glass, the next variable to control.
Material-Specific Adjustments and Logo Troubleshooting
Material changes everything. The same vector file can look crisp on coated metal and muddy on glass if the artwork and settings aren't tuned to the surface.
How the same logo reads on common substrates:
- Wood (solid and plywood): Engraves dark and warm. Solid fills read well, but fine lines can blur as resin scorches; keep hairlines out.
- Acrylic (cast and extruded): Engraves frosted white on cast and cloudy on extruded. Solid fills and clean outlines work; gradients band badly, and duplicate lines over-etch and turn the mark chalky.
- Coated metal (anodized aluminum, painted steel, powder coat): The laser removes the coating and reveals bright bare metal. Fine text and thin strokes survive better here; keep fills solid, since grayscale shading often reads as blotchy removal.
- Bare metal (stainless, brass): Needs a marking agent or fiber laser for contrast; a CO2 laser alone often leaves a faint mark, so design for bold shapes.
- Glass: Etches frosted and soft. Fine lines disappear, so thicken strokes and avoid tiny text; a stippled or halftone fill sometimes reads better than a solid one.
- Leather and coated fabrics: Engraves dark and can bleed at edges. Simple, bold marks work; intricate detail fills in.
Troubleshoot by artwork type before you touch settings:
- Fine text that fills in: increase the final size, switch to a simpler sans-serif, or use a bolder weight. Text below roughly 1/8 inch tall is unreliable on most materials.
- Thin lines that disappear: thicken the stroke slightly in the vector file rather than raising power, which risks burning the surrounding area.
- Gradients that band: convert to solid fills or a halftone pattern; most laser software cannot reproduce smooth gradients on these substrates.
- Busy logos that turn to mush: simplify the mark for small items, drop interior detail, increase negative space, and test the simplified version first.
- Low-resolution raster logos: if the source is under roughly 600 pixels on the long edge, redraw rather than trace, or the engraving will show soft, fuzzy edges.
Proof before production. Settings are a starting point, not a guarantee. Every machine and batch of material differs, so run a test engraving on scrap of the same material at the same size before committing the final piece.
For a deeper look at substrate behavior and power settings, our guide to the best materials for custom laser engraving compares wood, acrylic, metal, leather, and glass side by side.
No chart replaces a test on your actual material.
Send Your Logo File to Fireline Laserworks for a Test Engraving
A test on scrap material before production is a sound way to check how a logo will engrave. Send your file and tell us the material and final size to request a quote.
The business brings more than 50 years of professional design experience to its work.
Before you send artwork, it helps to understand the approval steps. Our guide to the laser engraving proof steps for custom orders walks through the process from request to sign-off.
Ready to move? Tell us what you want to make and we will quote your project. If you are still sorting out artwork, our overview of laser engraving services and ordering a custom job explains how to prepare your files and request a quote.
A blurry logo on an award or a client gift undercuts the whole gesture. The fix is a clean vector file, closed paths, and one test run before the real thing.
Frequently Asked Questions
What file format is best for laser engraving?
Vector formats like SVG, PDF, EPS, and AI are best because they scale without losing quality and define clean paths for the laser. If you only have a raster image like PNG or JPEG, it can work for simple engravings but may require tracing to avoid blurry edges. For the sharpest results on logo laser engraving, always supply a vector file at final size.
Is SVG or PNG better for laser engraving?
SVG is generally better because it is a vector format that the laser can follow precisely, with no pixelation. PNG is a raster format and can become blurry when scaled up, especially for fine text or thin lines. Use SVG when possible; if you must use PNG, ensure it is high resolution (at least 300 DPI at final size) and has high contrast.
Should a logo be black and white for laser engraving?
Yes, black and white is ideal because the laser interprets contrast, not color. Convert your logo to grayscale or pure black and white to ensure clear engraving patterns. This also helps when mapping colors to different laser operations, such as engraving versus cutting. A black-and-white logo file reduces ambiguity and improves consistency across materials.
Can LightBurn import logo files for laser engraving?
Yes, LightBurn can import SVG, PDF, AI, and other vector formats, as well as raster images like PNG and JPEG. For best results, import a clean vector file with closed paths and no overlapping lines. After import, check that layers and cut lines are correctly assigned, and run a test engraving on scrap material before production.
