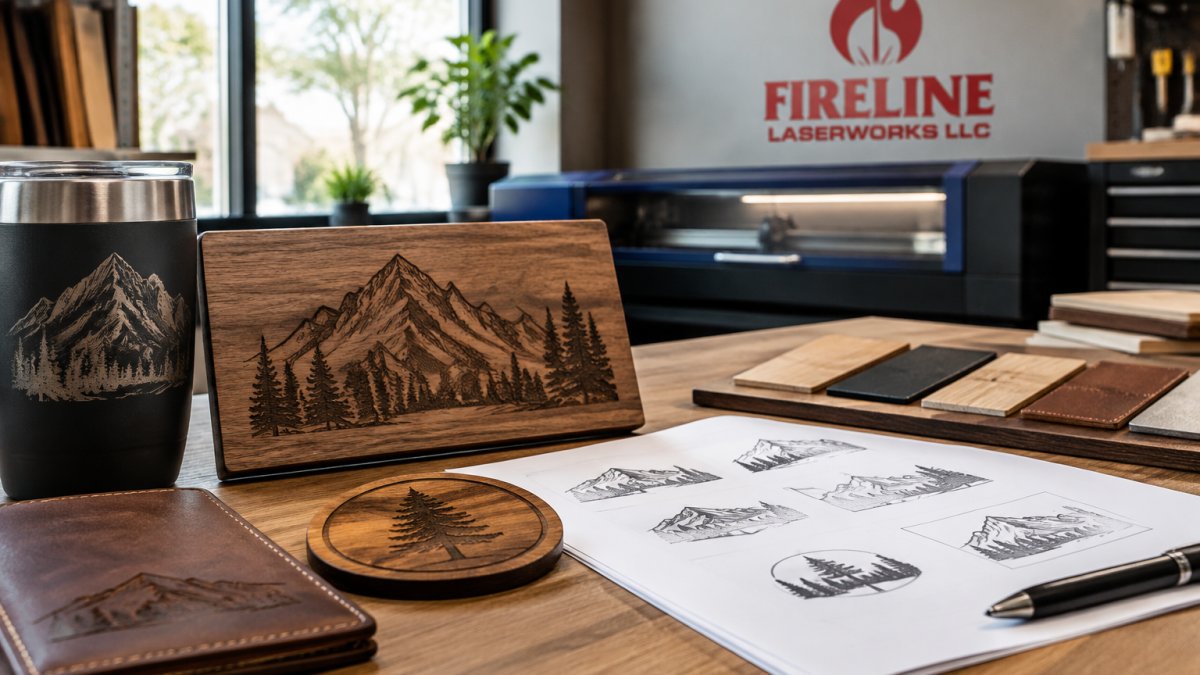
Last Updated: November 7, 2026
Quick Summary
A laser engraving proof is a digital preview of your finished design, sent for your approval before the laser ever touches the material. Review it line by line for spelling, spacing, and scale, then approve it, request a revision, or ask for a physical sample. Once approved, the proof becomes the controlling specification for production.
- Fill in every field of the custom laser engraving request form, even roughly, to get a closer first draft.
- Vector files scale without losing sharpness, while low-resolution rasters produce ragged edges no machine skill fixes.
- Review the proof zoomed in rather than on a phone screen, and flag thin or cramped fonts before approval.
- Send one consolidated revision request, since piecemeal feedback can slow an order.
- Request a physical sample when ordering large quantities or working with unfamiliar materials where contrast is uncertain.
Table of Contents
- Why a Laser Engraving Proof Process Prevents Costly Mistakes
- Step 1: Submit Your Custom Laser Engraving Request Form
- Step 2: Meet the Laser Engraving Artwork Requirements
- Step 3: Review Your Custom Engraving Proof Line by Line
- Step 4: Approve, Revise, or Request a Physical Sample
- Step 5: Understand How Proofs Affect Custom Engraving Turnaround Time
- Step 6: From Approved Proof to Finished Product
- Step 7: Check Laser Engraving Design Examples Before You Commit
- Frequently Asked Questions
Why a Laser Engraving Proof Process Prevents Costly Mistakes
A laser engraving proof is a digital preview of your finished design, sent for your approval before the laser ever touches the material. A proof is treated as an important checkpoint in any custom order. Why? Because a misspelled name or a logo scaled too small cannot be fixed after engraving. The mark is permanent.
Most custom engraving problems trace back to a skipped or rushed proof review. The wrong file gets approved, the wrong font gets used, or nobody checks the spelling on line three. The laser then does exactly what it was told.
Below, we walk through our seven-step laser engraving proof process for custom orders. Each step shows what is typically needed from you, what you can expect back, and what to check before you sign off.
Step 1: Submit Your Custom Laser Engraving Request Form
Every order starts with a custom laser engraving request form. This form captures the details that shape your proof: item type, quantity, material, text, and your deadline.
Fill in every field you can, even roughly, since more context generally helps build a closer first draft.
Here is what to expect at this stage:
- Item and material selection, or a note that you need help choosing
- Your text, transcribed exactly as you want it engraved
- Logo or artwork files
- Quantity, deadline, and any event details
Not sure what material suits a leather portfolio versus a slate coaster? Say so on the form. When you are ready, tell us what you want to make.
Step 2: Meet the Laser Engraving Artwork Requirements
Clean artwork generally makes the difference between a crisp engraving and a fuzzy one. Laser engraving artwork requirements come down to file type, resolution, and how the design converts to a single-color mark.
The laser does not print color. It removes or darkens material along a path. So your artwork must work as a one-color design with clear edges.
Vector Files vs. Raster Images: What Each One Means for Your Engraving
Vector artwork is built from math-based lines and curves. It scales to any size without losing sharpness, which makes it ideal for logos on tumblers or signage. Common vector formats include AI, EPS, SVG, and PDF.
A raster image is a grid of pixels, like a JPG or PNG. It engraves well only at high enough resolution; low-resolution rasters produce ragged edges no machine skill fixes.
A few rules of thumb:
- Send the original file, not a screenshot
- Avoid images pulled from a website or social media
- Keep black-and-white versions of logos on hand
- For photos, expect dithering, a dot pattern that mimics shading
If your file is a raster, it may need conversion or a better source, which is a common reason proof delays begin, so send the best file you have on day one. Our guide to the best materials for custom laser engraving explains how substrate choice affects your artwork.
Step 3: Review Your Custom Engraving Proof Line by Line
This is where the real work happens. Your custom engraving proof arrives as a digital file showing your design positioned on the actual product, at actual scale.
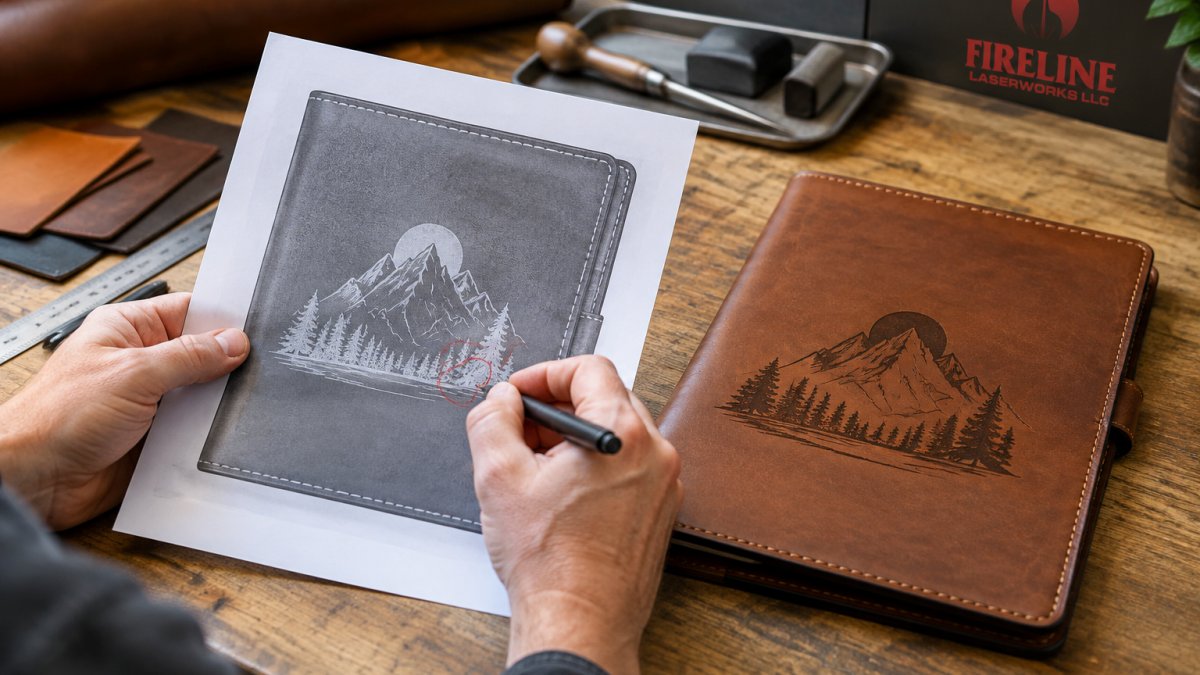
Read it slowly. Then read it again.
The Proof Review Checklist: Spelling, Spacing, and Scale
Run through this list every time, even on small orders:
- Spell every name, title, and date letter by letter
- Confirm capitalization and punctuation match your intent
- Check line breaks and spacing between lines
- Verify the design sits where you want it on the product
- Confirm the size looks right against the item's real dimensions
- Check logo proportions and edge clarity
- Confirm quantity and item type in the order summary
A common mistake is reviewing the proof on a phone screen. Zoom in. Check the small text. If a font looks thin or cramped at your chosen size, flag it now. Our guide to laser engraving fonts covers typeface choices for different materials.
Step 4: Approve, Revise, or Request a Physical Sample
After reviewing a laser engraving proof, you can approve it, request a revision, or ask for a physical sample. Each path can affect cost and schedule.
What Approval Actually Authorizes
When you approve a proof, you are authorizing production from that exact file. The approved proof becomes the controlling specification for the order. That means:
- The spelling, layout, size, placement, material, and engraving method shown on the proof are what will be produced.
- Any error visible on the approved proof is your responsibility to catch before approval.
- Changes requested after approval require a new proof and a new approval, and they may restart the production queue.
A record of the approval, such as the proof version and approval date, can help if a question arises later.
How Revisions Work and Where Limits Apply
A revision is any change to the design, text, layout, material, or quantity after the first proof is issued. Revision terms, including any included rounds or fees, should be confirmed with Fireline Laserworks when requesting a quote.
Each revision round adds design time, a new proof, and a new review cycle, so gathering all feedback in one pass helps keep schedules on track.
Piecemeal feedback, sent as separate messages for each fix, can slow an order, so send one consolidated revision request.
When a Physical Sample Is Worth It
A digital proof shows layout and scale, but it cannot show how the laser will interact with a specific material. A physical sample can be useful before a full run, particularly when:
- You are ordering a large quantity and the per-piece risk of a redo is high.
- The material is unfamiliar to you, such as coated metal, anodized aluminum, or a dark leather where contrast is uncertain.
- The design relies on fine detail, small text, or subtle shading that may not read the same on screen as on the substrate.
- Color contrast matters, such as white marking on black coated metal or dark engraving on light wood.
Sample availability, timing, and any charges should be confirmed with Fireline Laserworks. On small orders of straightforward text on a known material, a digital proof is often sufficient.
Late Changes and Change Control
Changes requested after production begins can affect the schedule and may require a new proof and approval. That keeps the approved file and the finished product in agreement.
Step 5: Understand How Proofs Affect Custom Engraving Turnaround Time
Turnaround time for custom engraving generally depends on proof rounds, material availability, and production queue.
A clean first proof moves fast. A proof that bounces back three times does not. Here is how the stages stack up:
| Stage | Typical pace | What causes delay |
|---|---|---|
| Request and file check | 1-2 business days | Missing or low-quality files |
| First proof issued | 1-2 business days | Incomplete request details |
| Your review | Your call | Slow feedback, split opinions |
| Revisions | 1-2 days per round | Changes sent piecemeal |
| Production | Depends on quantity | Stock checks, material backorders |
If you have a hard date, mention it on your request. Approving the proof well ahead of a production window is generally helpful for volume orders.
Step 6: From Approved Proof to Finished Product
Once a proof is approved, it generally serves as the production specification, and changes typically require a new proof and approval.
The Production Sequence
A typical engraving production sequence generally includes these stages:
Why the Finished Piece Can Differ From the Digital Proof
A digital proof is a rendering; the finished piece is a physical mark in a real material. Some variation between the two is normal and expected, not a defect. The main sources are:
- Material grain and tone. Wood and leather vary in grain direction, density, and color, so the same file on two blanks can produce slightly different contrast and edge character.
- Curvature and surface finish. On curved items like tumblers, laser focus shifts slightly across the curve, making marks at the design edges appear marginally lighter or darker than at the center.
- Focus and depth. Small differences in material thickness or flatness change the focus point, affecting line width and depth.
- Color rendering. A screen shows color; the laser produces a mark whose color depends on material and settings.
- Dithering and shading. Photos and gradients are reproduced as dot patterns. At normal viewing distance the shading reads correctly, but up close the dots are visible, the nature of the process, not a flaw.
If exact color match or precise contrast is critical to your project, request a physical sample in Step 4 rather than relying on the digital proof alone.
What Counts as a Defect Versus Normal Variation
A defect is a deviation from the approved proof that we caused: a misspelled word, a misplaced design, a double-burn line, a skipped area, or a mark in the wrong location. Normal variation is the expected difference between a rendering and a physical mark in a natural material. If you believe a finished piece is defective, contact Fireline Laserworks with photos and your order details for review.
You can browse available products for engraving to confirm the blanks your design may use.
Step 7: Check Laser Engraving Design Examples Before You Commit
Seeing finished work beats imagining it. Before you commit to a large order, review laser engraving design examples that match your material and use case.
Look for samples on the same substrate you chose. An engraved slate coaster reads differently than an engraved stainless tumbler. Check contrast, edge sharpness, and how fine text holds up.
Ask yourself:
- Does the text stay readable at the size I chose?
- Does the design feel balanced on the product?
- Is the contrast strong enough for my material?
- Does the finish match what I pictured?
Fireline Laserworks has more than 50 years of professional design experience. You can view samples of custom engraving and design work.
A custom order only feels risky when you cannot see the result coming. A proof review can reduce uncertainty: you can review the design at scale, catch errors before production, and approve before work begins.
Frequently Asked Questions
How does the proof process work for a custom laser engraving order?
You submit artwork and order details through a request form, and the shop prepares a digital proof showing layout, size, placement, and line spacing on your chosen blank material. You review it, request revisions if needed, and approve it in writing. Production starts only after that approval, so the proof is the checkpoint that locks in spelling, positioning, and design before the laser beam touches the workpiece.
What should I check on a laser engraving proof before approving it?
Read every name and date character by character, since misspellings are the most common and most expensive error. Confirm the design scale and placement against the product dimensions, check line spacing and margins, and verify the material and finish listed. Ask whether the proof shows contrast accurately, because glass, coated metal, and dark leather can engrave lighter or darker than a screen preview suggests.
Can I request changes to a laser engraving proof, and does that delay my order?
Yes, revisions are a normal part of the process, and most shops build one or two rounds into the timeline. Each revision round adds review and re-proofing time, so batch your feedback into a single message rather than sending corrections one at a time. Ask about revision limits and how approvals are recorded before you order, especially on volume runs like 200 engraved portfolios where change control matters.
Does a laser engraving proof show the exact final color and appearance?
A digital proof shows layout, scale, and text accuracy, but it cannot fully replicate how a laser reacts with a specific material. Engraved cavities on wood, leather, glass, and coated metal produce contrast that varies by batch and finish. If color and surface appearance are critical, request a physical sample on the actual blank material before approving a large custom order.
