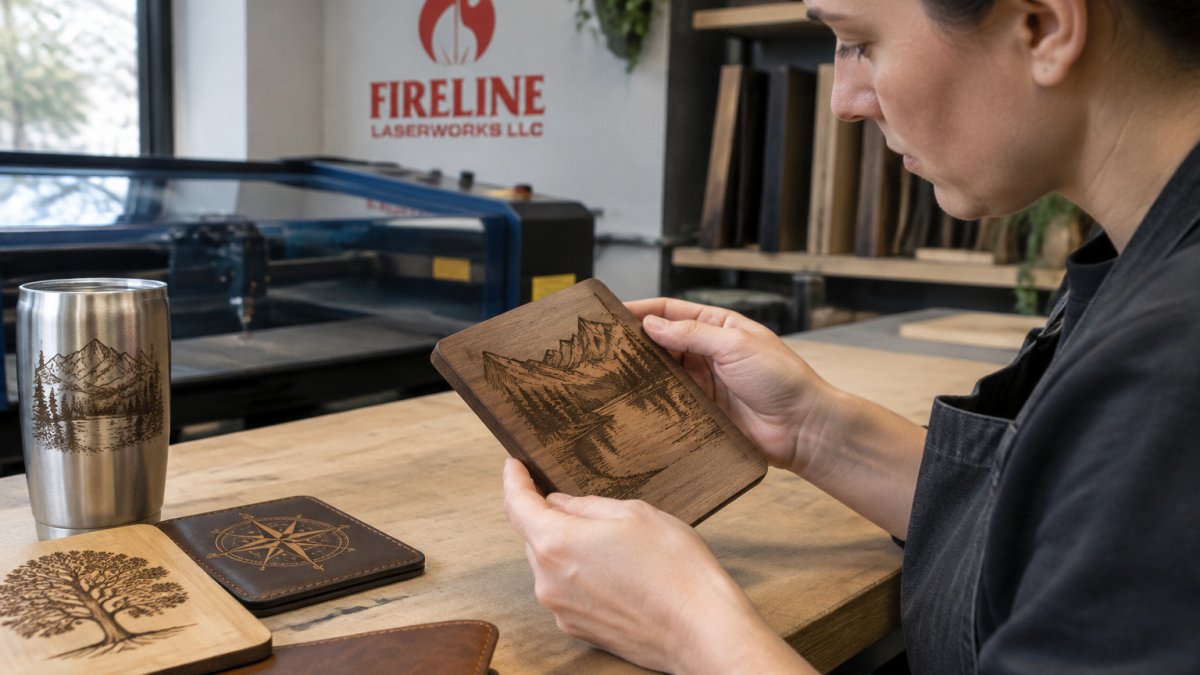
Last Updated: November 17, 2026
Quick Summary
To verify laser engraving quality, run a material test on scrap stock of the exact material and thickness, then inspect the piece under bright, angled light using a checklist covering edge sharpness, burn depth, surface finish, registration, spelling, contrast and resolution. Finish with a durability test such as a rub, wash, adhesion or weather check.
- Run the material test on the same batch as the final job, since a different supplier or dye lot can behave differently.
- Measure burn depth and kerf width with a caliper during inspection.
- Read spelling backward, then have a second person read it forward.
- For drinkware, run a normal wash cycle and recheck contrast.
- If the mark fades or chips, adjust power, speed or focus rather than the design.
Table of Contents
- Step 1: Run a Laser Engraving Material Test Before You Judge the Final Piece
- Step 2: Inspect the Engraving With a Laser Engraving Quality Checklist
- Step 3: Confirm the Engraving Holds Up With a Laser Engraving Durability Test
- Frequently Asked Questions
Step 1: Run a Laser Engraving Material Test Before You Judge the Final Piece
You cannot judge laser engraving quality on a finished piece alone, marks look crisp, then fail weeks later.
A laser engraving material test is a small trial run on scrap stock of the exact material and thickness, showing how the surface reacts before you commit a customer's name to it. Run it on the same batch as the final job, a different supplier or dye lot can behave differently. See our guide to the best materials for custom laser engraving.
Step 2: Inspect the Engraving With a Laser Engraving Quality Checklist
A laser engraving quality checklist turns gut feeling into a repeatable pass or fail. Inspect under bright, angled light and work through the list in order.
- Edge sharpness: Clean edges, not fuzzy or double-lined
- Burn depth: Even across the design, no shallow patches
- Surface finish: No charring, scorch marks, or chalky residue
- Registration: Design sits exactly where the proof placed it
- Spelling: Names and dates match the approved proof character for character
- Contrast: Engraving reads clearly against the background
- Resolution: Fine text and small logos stay legible at arm's length
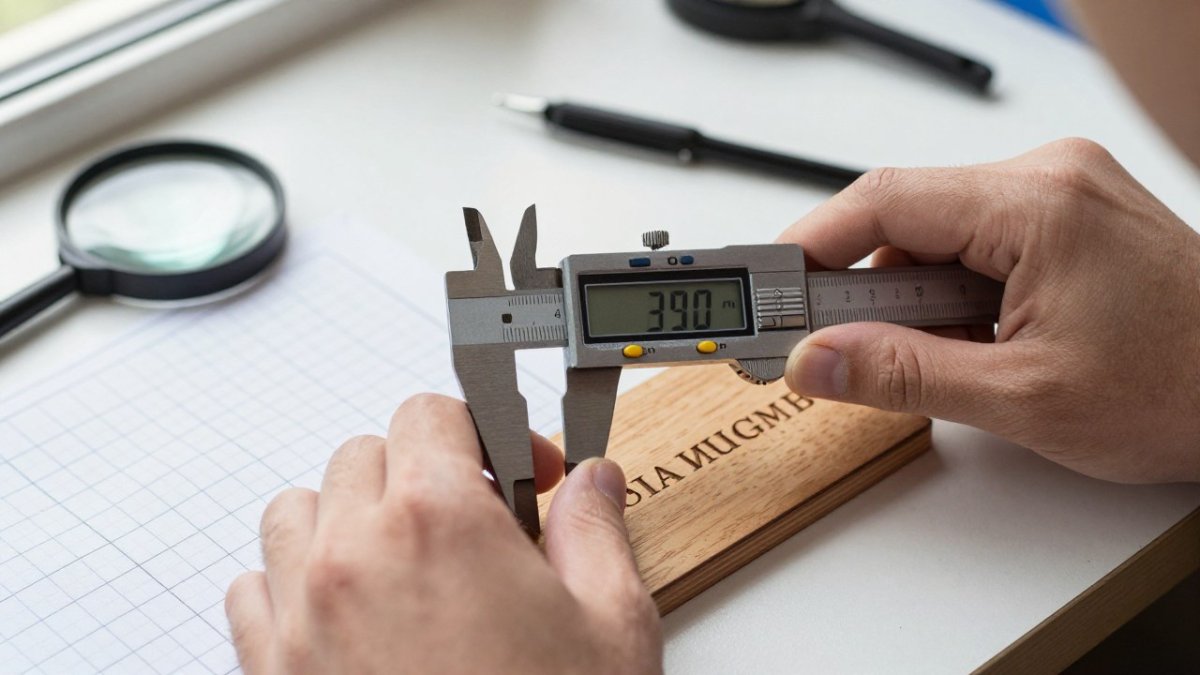
Measure burn depth and kerf width with a caliper, and read spelling backward, then have a second person read it forward. Our 7 laser engraving proof steps for custom orders show how the proof process catches defects before production, and you can see engraving samples to compare crisp work against flawed work.
Work through these checks in order under bright, angled light to turn inspection into a repeatable pass or fail.
| Check | What to look for |
|---|---|
| Edge sharpness | Clean edges, not fuzzy or double-lined |
| Burn depth | Even across the design, no shallow patches |
| Surface finish | No charring, scorch marks, or chalky residue |
| Registration | Design sits exactly where the proof placed it |
| Spelling | Names and dates match the approved proof character for character |
| Contrast | Engraving reads clearly against the background |
| Resolution | Fine text and small logos stay legible at arm's length |
Step 3: Confirm the Engraving Holds Up With a Laser Engraving Durability Test
A piece that looks perfect today can fade, peel, or wear through by next season. A laser engraving durability test checks whether the mark survives real use.
- Rub test: Rub with a firm cloth; coating should not flake or lift.
- Wash test: For drinkware, run a normal wash cycle and recheck contrast.
- Adhesion check: On coated metal, score a small crosshatch and see if the coating chips.
- Weather check: For outdoor signs, leave a sample in sun and rain for a week.
If the mark fades or chips, the settings were wrong for that material, not the design. Go back to Step 1 and adjust power, speed, or focus.
When you need the job done right the first time, request a quote and tell us what you want to make. We handle both small and volume orders, with custom design help.
Frequently Asked Questions
How can you tell whether a laser engraving is deep enough?
Check depth against the material, not a universal number. On wood and leather, a fingernail should catch the edge of the mark without the surface fuzzing or charring. On coated metal, the mark should cut cleanly through the coating without scorching the surrounding finish. Use a caliper to compare burn depth across a test piece, and confirm the depth stays consistent from the center of the bed to the edges. Uneven depth usually points to bed leveling or focus problems, not the artwork.
What belongs on a laser engraving quality checklist?
A working checklist covers edge sharpness, line interval consistency, and whether fine text stays legible at its smallest size. Add registration mark alignment, surface finish, and any thermal damage such as charring or a brown halo around the mark. Check that the engraving resolution matches what the design calls for and that no detail dropped out. Run the same checklist on a test coupon and on the finished piece so you compare like with like.
How do you test whether a laser engraving will last?
A laser engraving durability test simulates normal handling rather than abuse. Rub the mark with a damp cloth, apply light abrasion with a soft eraser, and check for fading or flaking on coated surfaces. For items that will be washed, such as drinkware, follow the care instructions and re-inspect after a wash cycle. Compare the tested area against an untouched section of the same piece. If the mark dulls or the coating lifts, the settings or material are wrong, not the design.
